How to Use Movavi Video Editor - iMovie for PC Alternative
It's dead easy to use Movavi Video Editor to edit video and create slideshows. This tutorial demonstrates the basic workflow of Movavi Video Editor.
Operating Systems: Windows 10, 8, 7
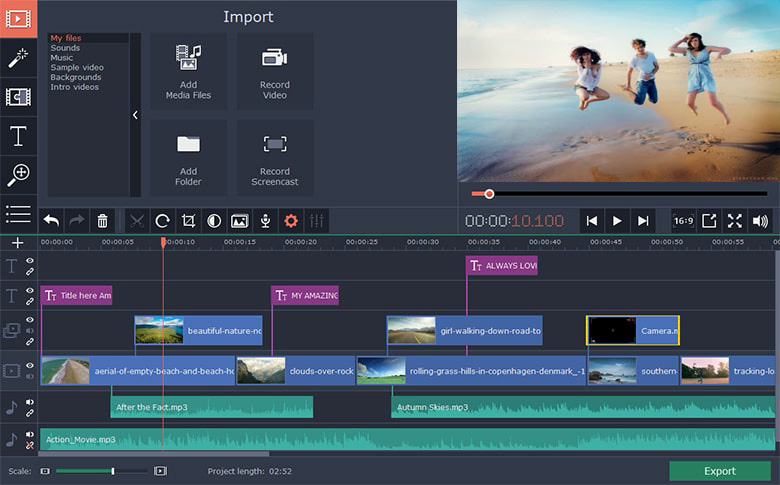
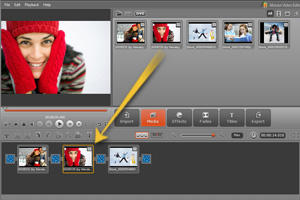
Step 1: Import media files and add them to timeline
Movavi Video Editor for Windows allows to import video from various sources: computer media files, 3D video, DVDs, or capture your own footage from a webcam, TV tuner, or DV/AVCHD camera.
If you need to edit files stored on your computer, click Import Media, locate the files on your hard drive, and click Open.
To start editing video or make slideshows, drag and drop selected files to the Storyboard or Timeline.
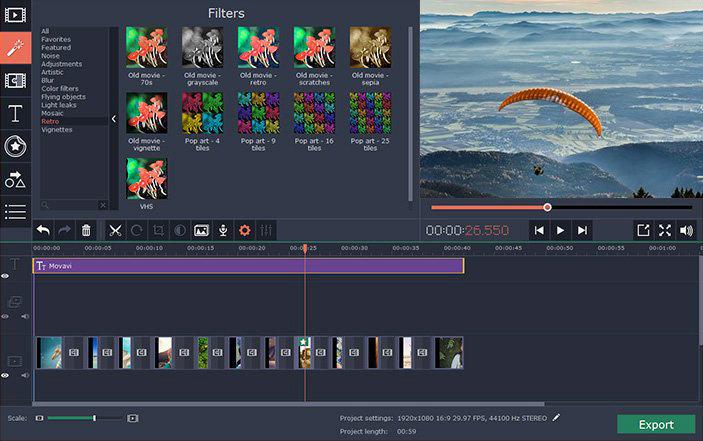
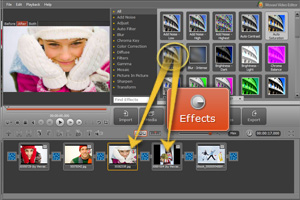
Step 2: Enhance video and apply effects
All common video editing tools are easy to access and ready to help. You can change the contrast, remove noise, and use automatic filters like Auto Contrast, Auto Saturation, MagicEnhance, and WhiteBalance.
To apply a video effect to your video, first click the Effects button to display the included effects. To apply an effect, simply drag and drop it onto the desired thumbnail on Storyboard or Timeline. You're able to preview the final result in the preview window immediately.
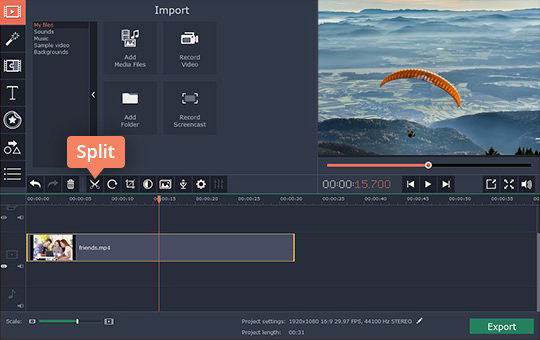
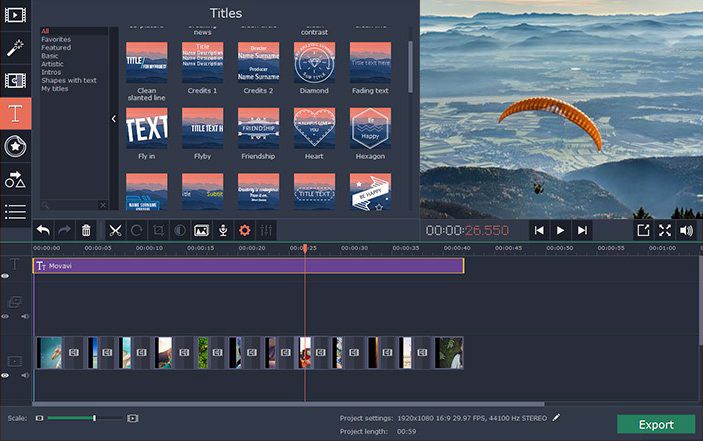
Step 3: Add transitions and titles
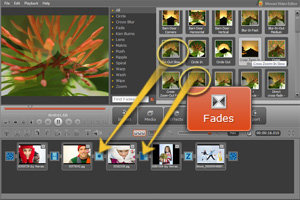
When you import multiple images, transitions will be chosen automatically. To apply or change transition manually, first click the Fades button to open the transition effects list. Then drag the one you want to add and drop to the blue spaces between thumbnails between slides.
To add titles, click the Titles button. You can preview title templates by clicking their icons with the left mouse button. Then right click the desired title and select where you want to place your video.
Step 4: Preview and save the video
To preview your video, select all video clips and transitions on the timeline and click Play in the preview window.
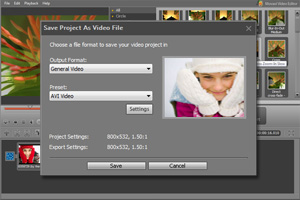
To save your movie in the format you need, click the Export button, and you'll see several options: save as a video file, save as 3D video, burn to DVD, upload to your YouTube or Facebook account directly, or save as a video compatible with mobile phone or tablet. When the conversion process is finished, a folder containing your video will open.